
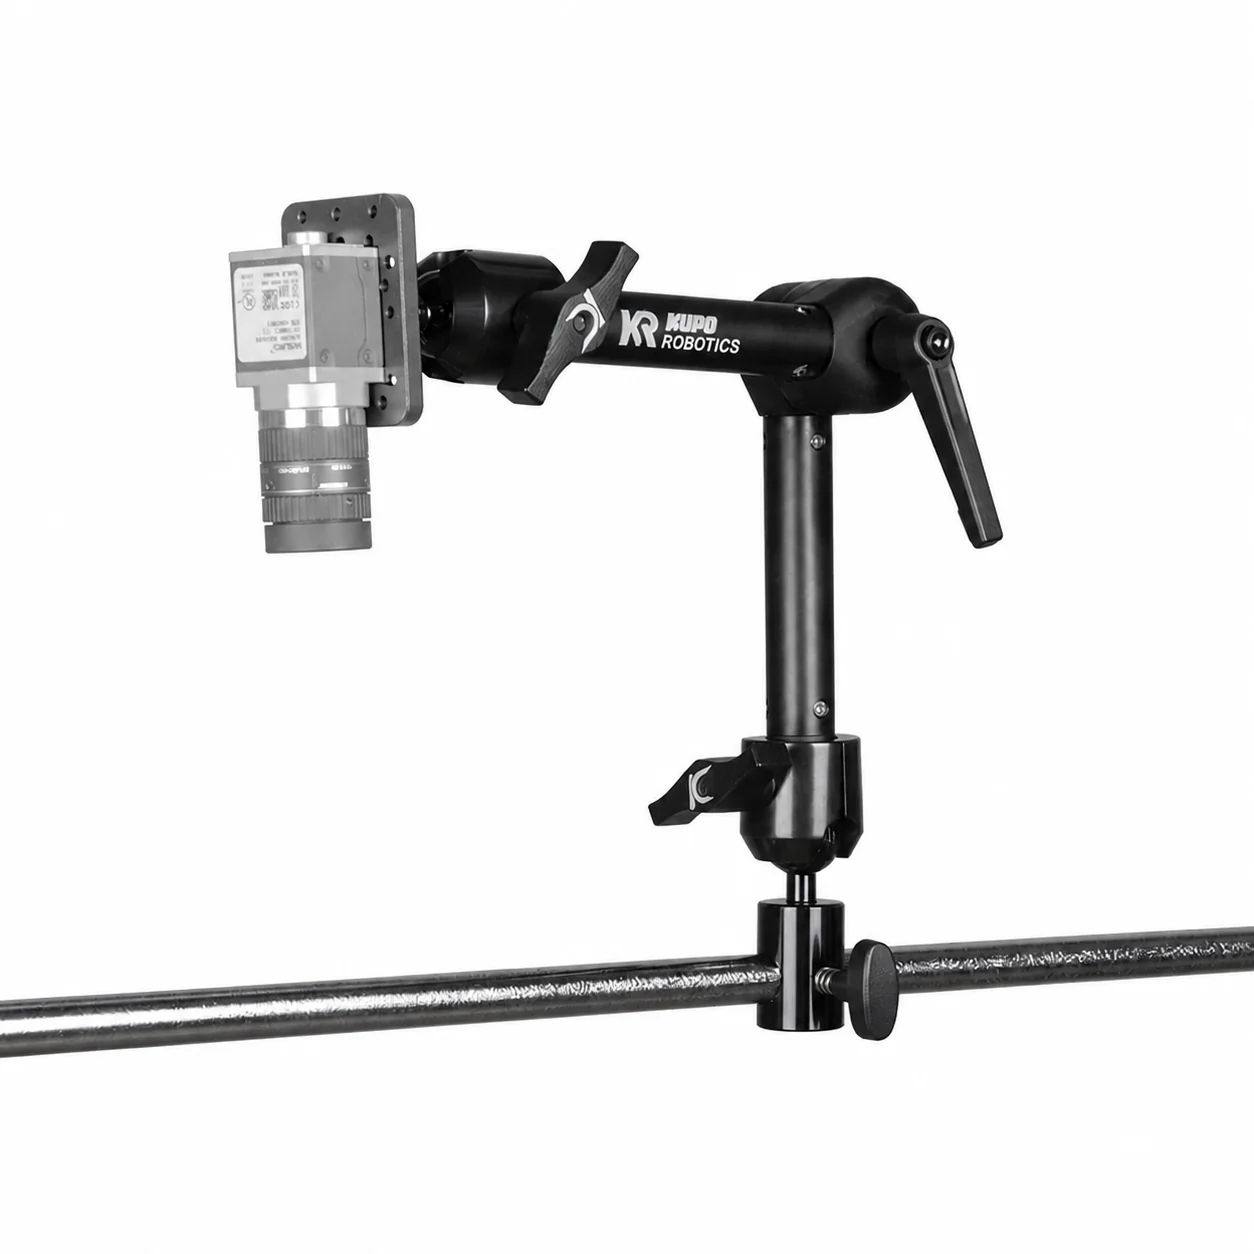
Base first. Then behavior, then reach.
Base fits the frame
A hard boundary, not a preference: 16 base on 16 mm rail, 22 base on 22 mm tube.
Arm behavior
Freehand speed (Super Knuckle) or indexed, repeatable angle (OmniGrip).
Shortest reach that works
Short arms are stiffer and hold more - reach past the target only when geometry forces it.
Check the real load
Working load, cable pull, and whether the camera image must stay rotationally fixed.
Move the mount, not the frame.
The VisionReach clamp turns a fixed rail or tube into an adjustable mounting track.
Instead of drilling a new hole or rebuilding the platform every time the camera view changes, loosen the clamp, move the entire base-and-arm assembly along the frame, and lock it at the new position. Coarse placement happens at the clamp; fine aim happens at the arm. Keeping those two adjustments separate makes experiments faster and leaves the breadboard free for the sample, target, and process hardware.
The tradeoff is leverage. A clamp can be secure while a long off-axis arm still creates rotation, sag, or cable-pull drift. Choose the correct clamp diameter, keep the payload close whenever possible, and validate base slip and rotation for the real setup.
| Base route | Fits | Advantage | Tradeoff / boundary |
|---|---|---|---|
| VisionReach 16 sliding base | 16 mm VisionGrid rail only | Light, compact, and quick to slide along a bench-frame rail. | Lower structural margin than the 22 mm route. Never fit it to 22 mm tube, a 35 mm post, or extrusion. |
| VisionReach 22 tube base | 22 mm VisionGrid Pro tube only | The larger tube is the better starting structure for wider layouts and longer offsets. | New tube-base configuration: confirm slip and rotation by test. Never fit it to 16 mm rail, a 35 mm post, or extrusion. |
Choose behavior first, then the shortest reach.
| Arm family | Advantages | Disadvantages | Best first use |
|---|---|---|---|
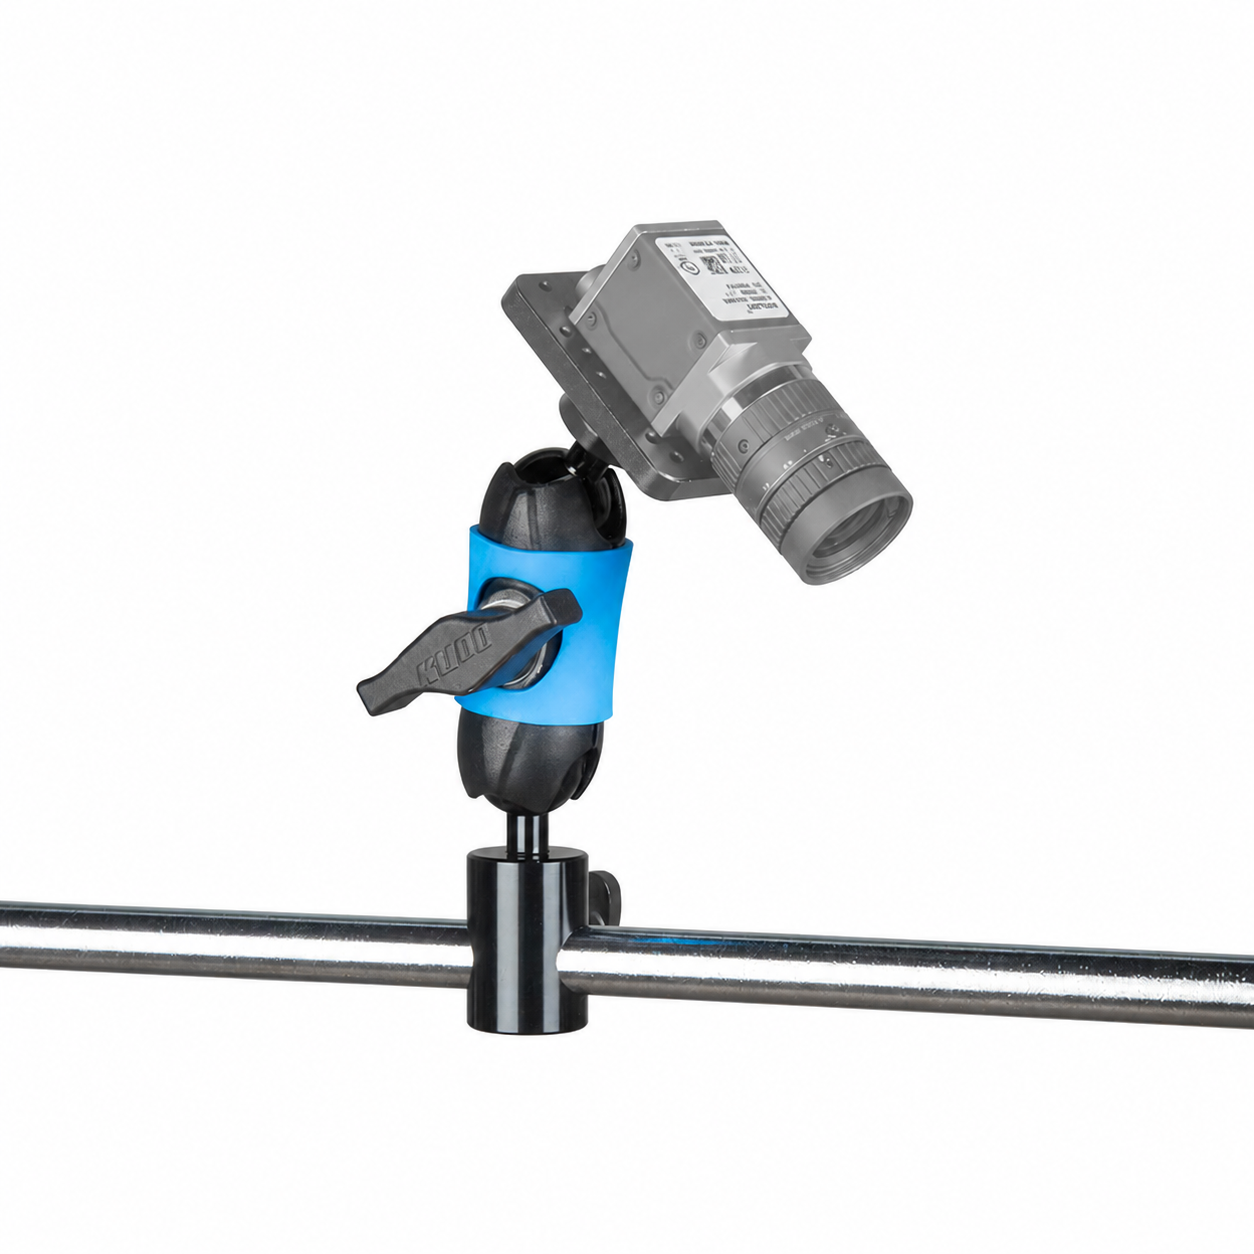
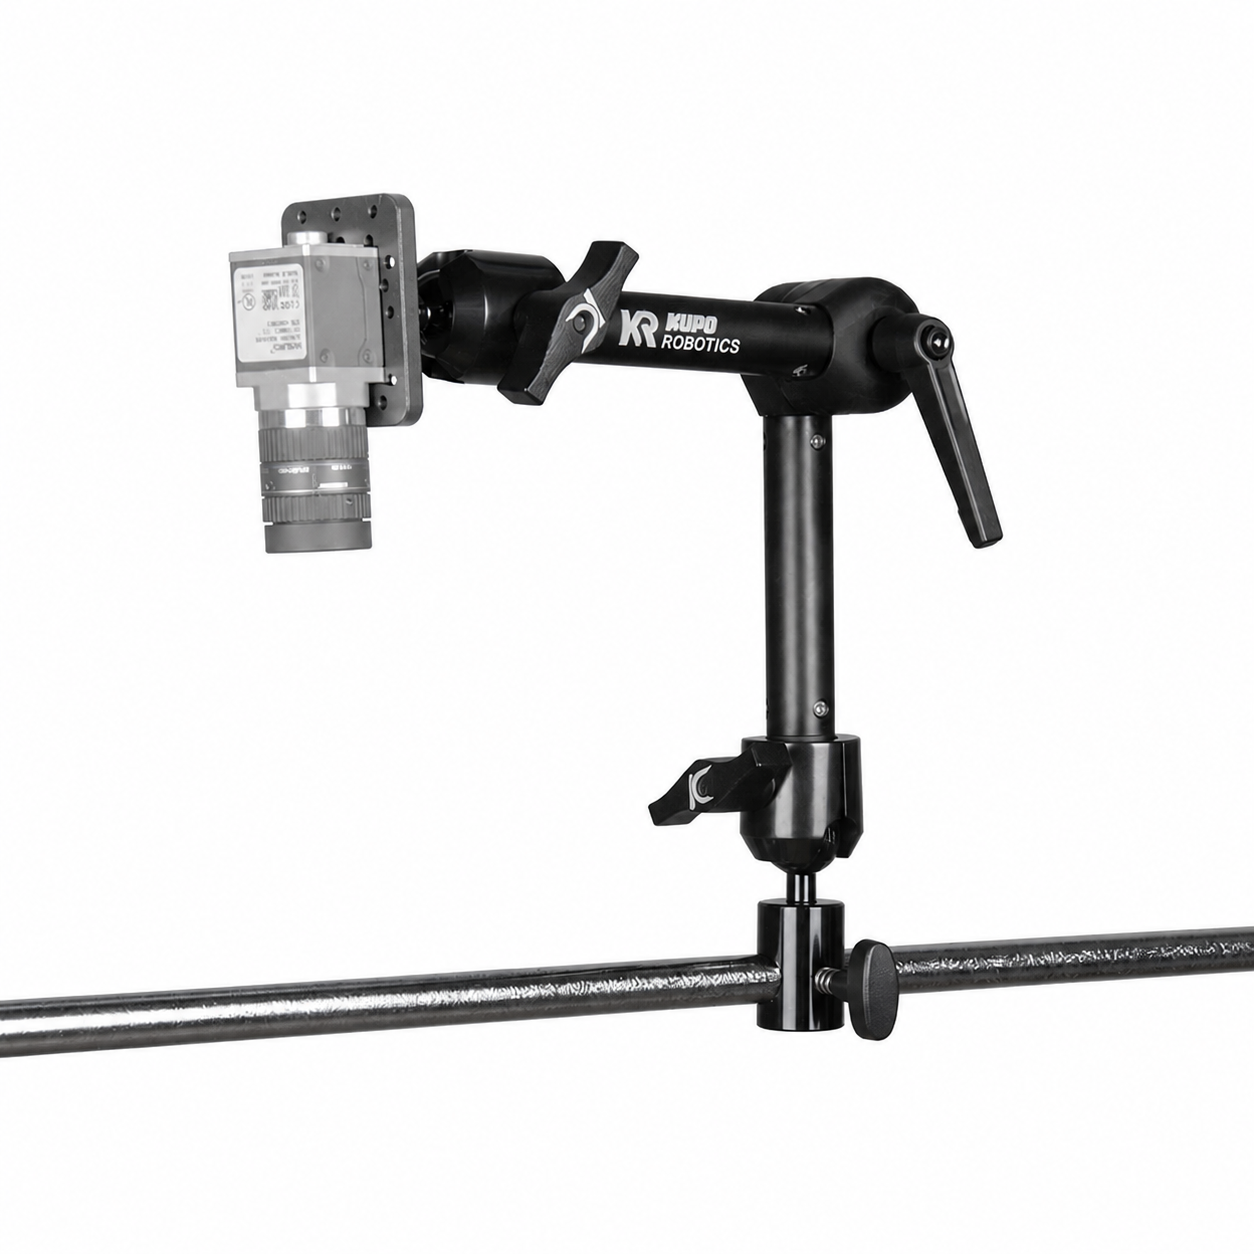
| Super Knuckle | Fastest freehand positioning; one central knob releases both ends; compact and easy to understand. | Friction-held rather than indexed; after a bump or removal you normally re-aim by eye; load margin falls quickly as length grows. | Exploration, frequent changeovers, lights, and cameras whose exact angle is still being found. |
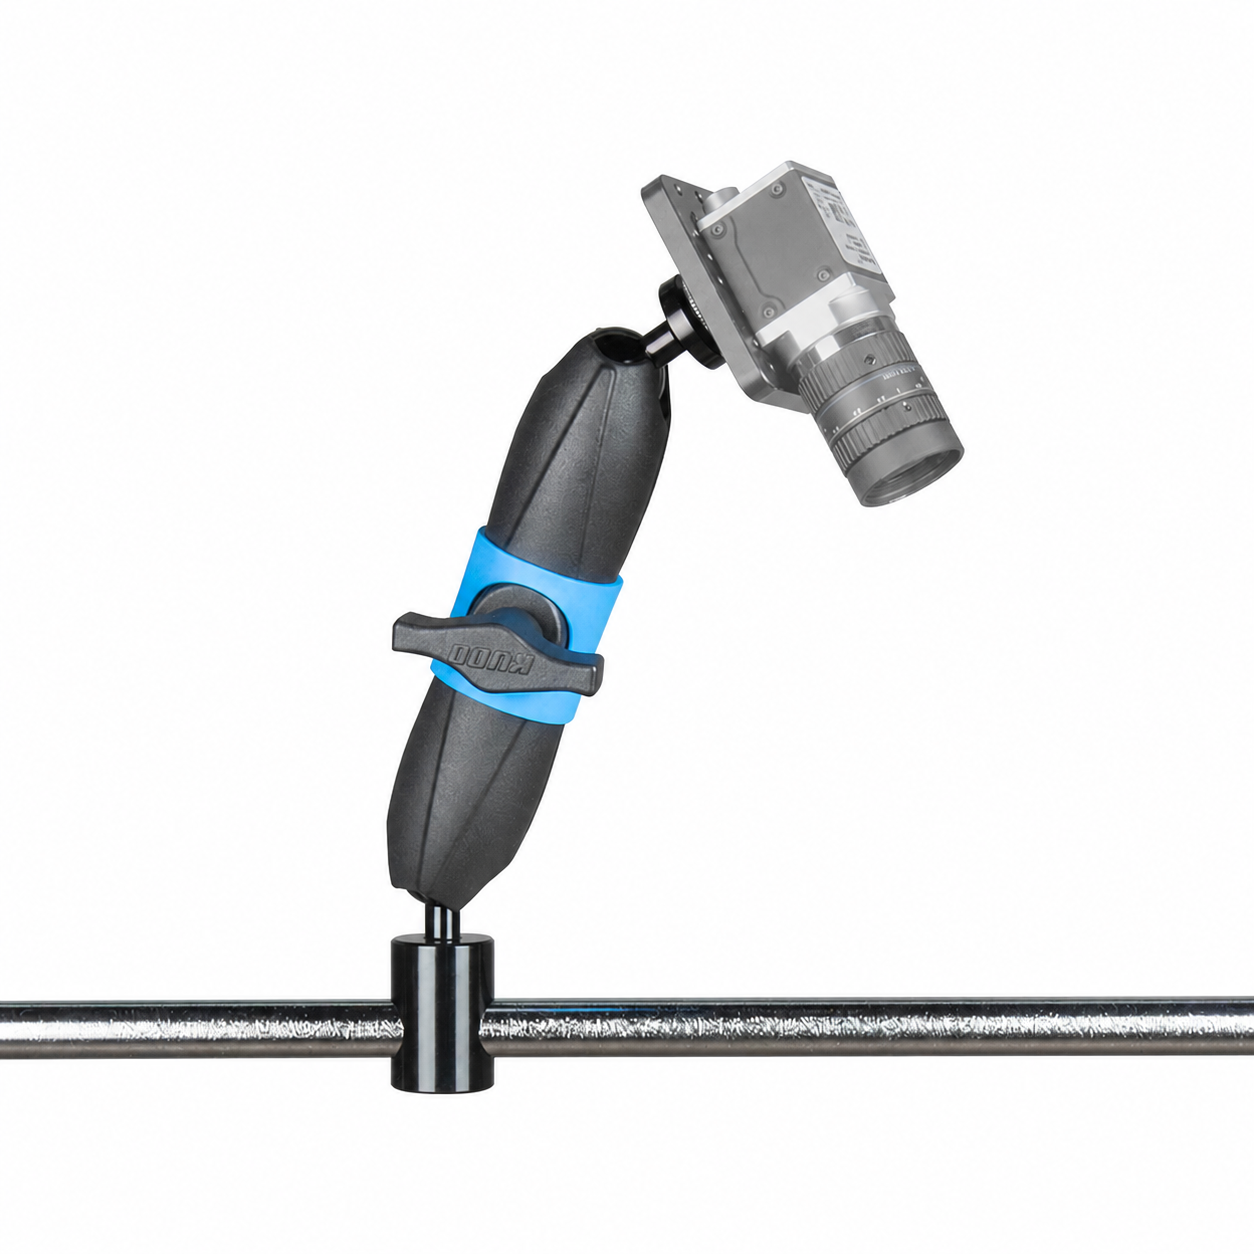
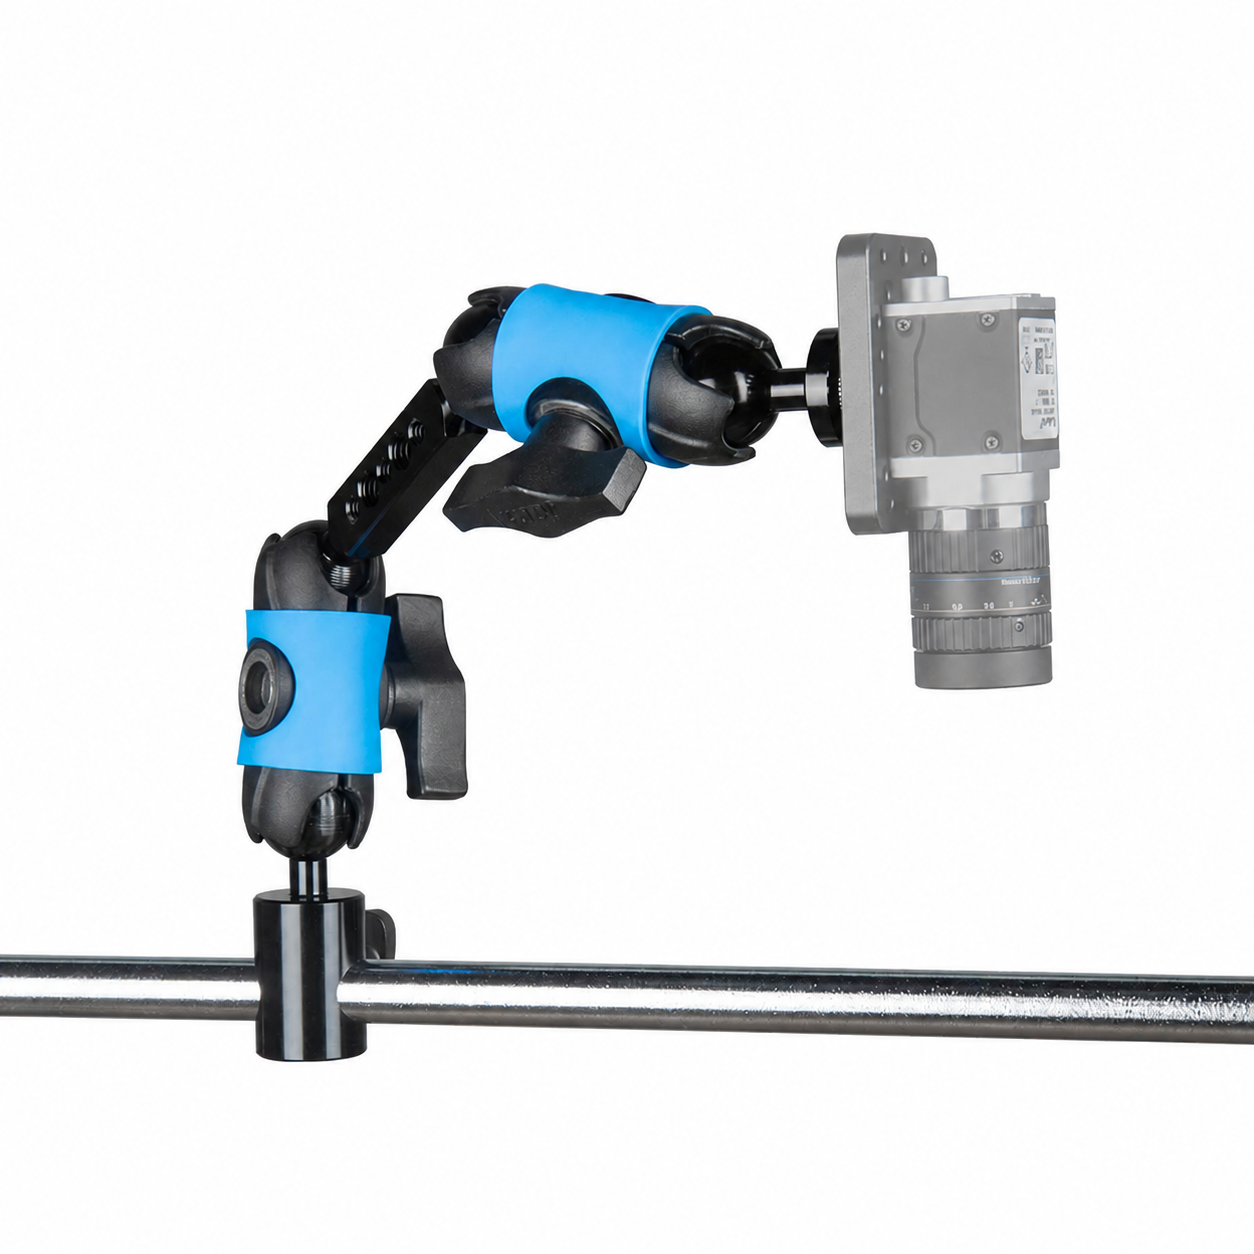
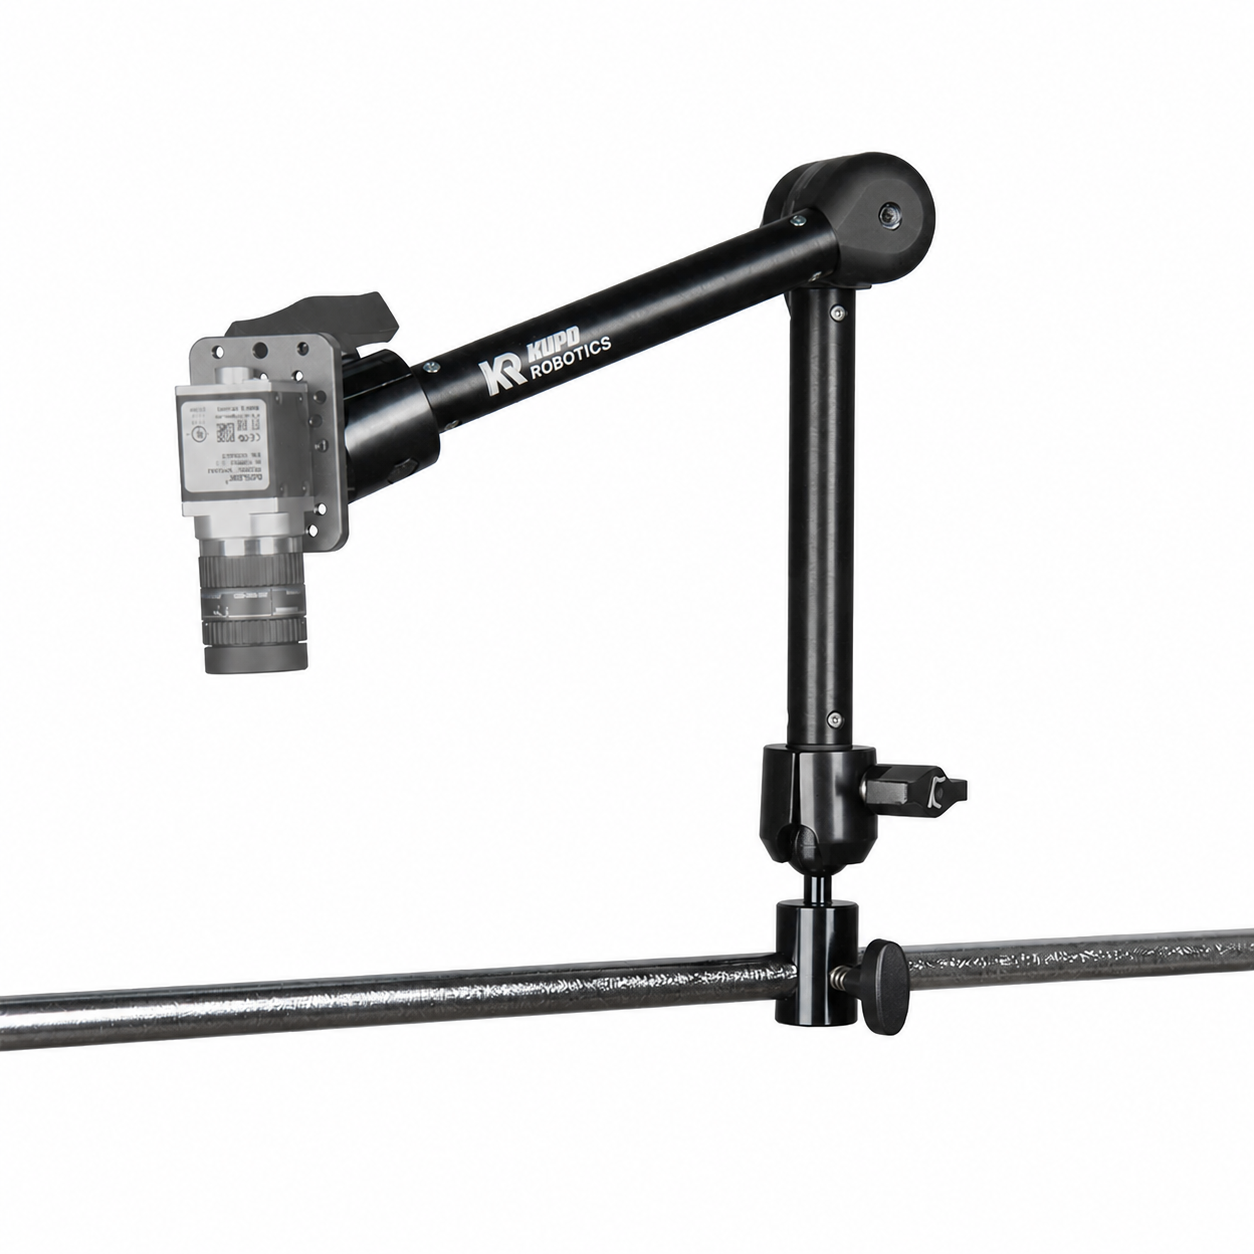
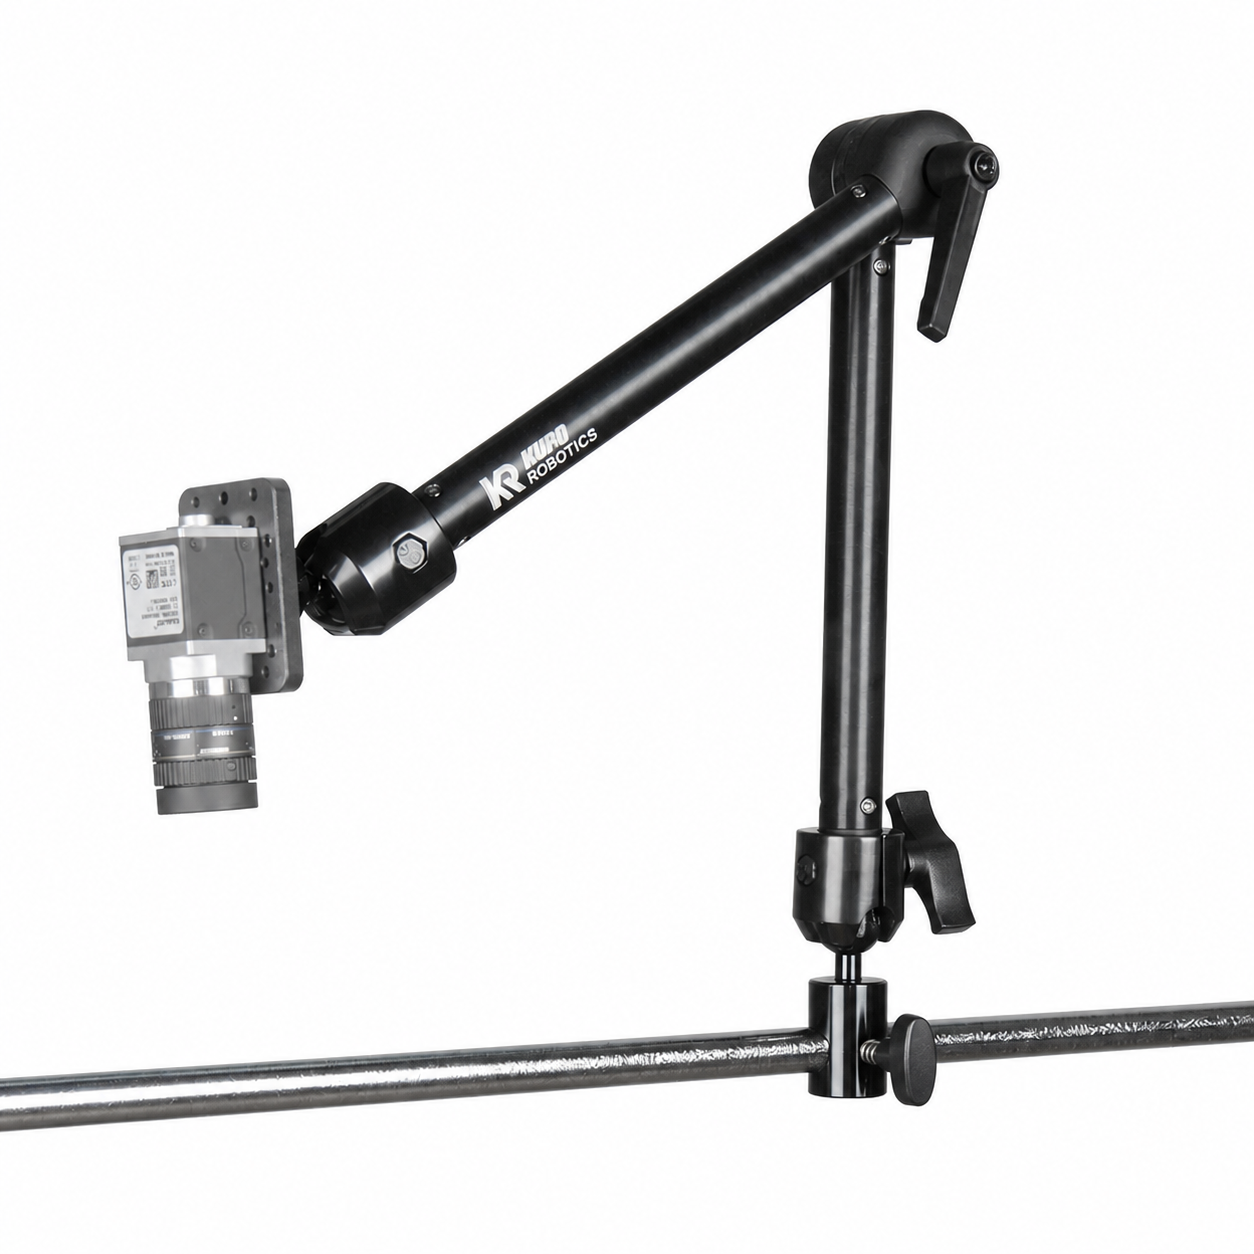
| OmniGrip | Higher close-in load margin; toothed center joint resists slip and returns to a discrete indexed angle; better for image-position work. | Heavier and less fluid to reposition; indexed teeth provide steps rather than an infinitely fine center-joint angle; longer versions create more base torque. | A camera position that has already been found and should be easier to document and restore. |
| Arm | Length | Working load (close-in) | When to choose it |
|---|---|---|---|
| Super Knuckle | 3 in / 7.6 cm | Up to 5 kg / 11 lb | Stiffest Knuckle length; payload stays close and quick hand adjustment matters. |
| Super Knuckle | 6 in / 15.2 cm | Up to 3 kg / 6.6 lb | Practical middle reach for hand-aimed setups. |
| Super Knuckle | 9 in / 22.9 cm | Up to 2 kg / 4.4 lb | Reach matters more than stiffness; keep cable pull low. |
| OmniGrip | 20 cm / 7.9 in | Up to 8 kg / 17.6 lb | Stiffest, highest-load, most controlled - best first choice for image-position work. |
| OmniGrip | 30 cm / 11.8 in | Up to 6 kg / 13.2 lb | Balanced reach and load margin; good general-purpose choice. |
| OmniGrip | 40 cm / 15.7 in | Up to 4 kg / 8.8 lb | Workspace coverage over maximum stiffness; expect lower payload at long offsets. |
The same choice, shown on the hardware.
Default picks that rarely miss.
On a 16 Compact frame
Start with VisionReach 16 and a short arm: Super Knuckle 3 inch or OmniGrip 20 cm for a close camera or small light; step up only when the device needs more reach.
On a 22 Pro frame
Start with VisionReach 22 and lead with a short OmniGrip - 20 or 30 cm - for camera work; use Super Knuckle when quick repositioning is the main value.
When unsure
Quote OmniGrip 20 cm for image stability and load margin, or Super Knuckle 3 inch for fast close-in hand adjustment. Move longer only when geometry requires it.
A positioning tool, not a production mount.
Where it belongs
Lab benches, prototype inspection layouts, and pre-release trials - fast to stand up, honest to adjust.
Where it does not
For factory release, vibration, repeated locking, moving-machine areas, or strict image-position tolerance, move to a reviewed path such as SightLink E3040, VisionCell, or a custom engineered fixture.
What's in a kit
The frame-side base, the selected arm, and a 1/4"-20 male device screw. Camera, plates, platform, and strain relief are selected separately.
Asked before ordering.
Which arm should I quote first for a camera?
Start with the shortest arm that reaches the target. For load margin and repeatable angle, start with the OmniGrip 20 cm; for quick close-in hand positioning, start with the Super Knuckle 3 inch.
Why should I avoid the longest arm as the default?
The longest arm gives the most reach but the least stiffness and load margin, so it drifts more. Longer reach increases leverage, sag, vibration sensitivity, and cable-pull drift; save it for lighter payloads, utility placement, or early layout exploration.
Can I use VisionReach for both camera and light?
Often yes, but treat the camera as the stricter path. Keep the camera arm short and stable when image position matters, and put the light on a separate managed path so its cable or adjustment does not pull the camera out of position.
When is VisionReach the wrong family?
When the parent structure is not a VisionGrid frame. Use SightLink E3040 for an existing 3030 / 4040 extrusion machine frame, VisionFrame 35 for larger geometry on a 35 mm post, and VisionCell when you want KUPO to provide the compact cell.